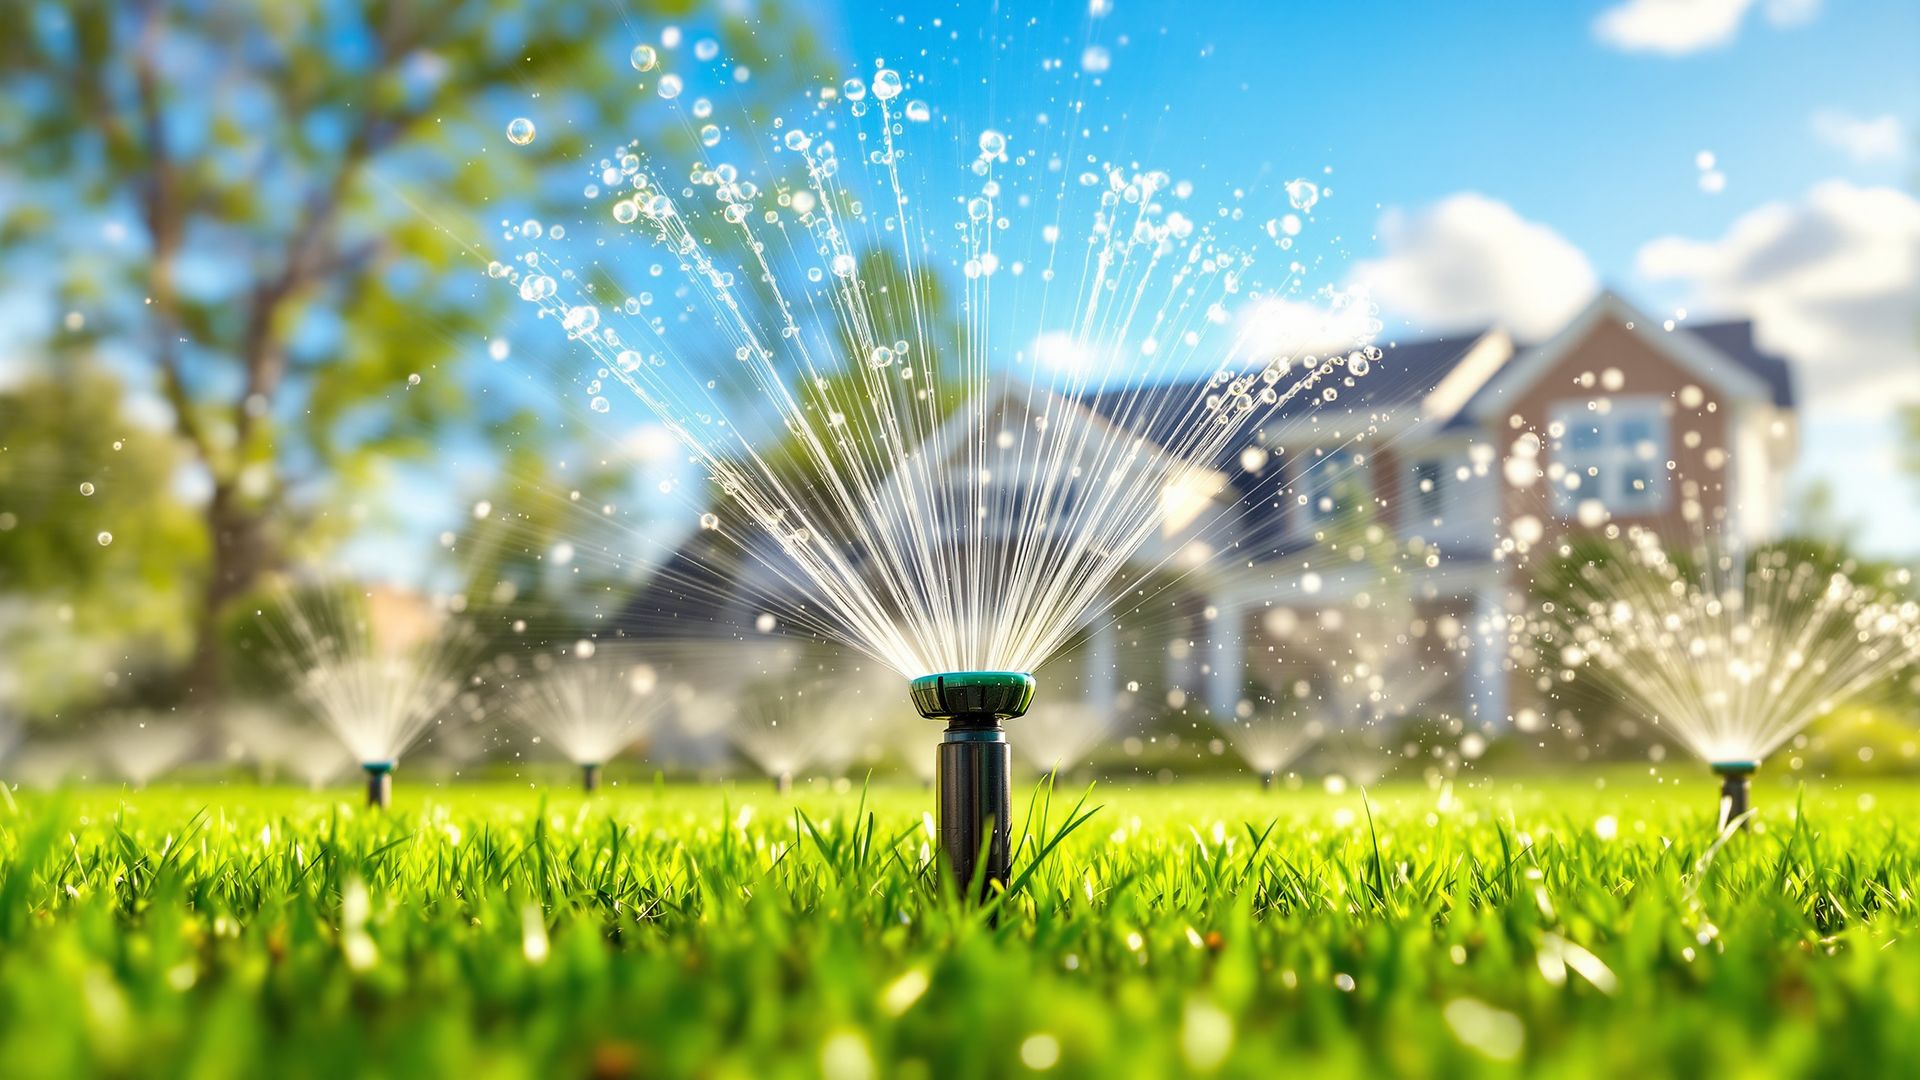
How to Start Up Your Sprinkler System in Spring (Without Burst Pipes)
By Turfrain
To start up your sprinkler system in spring, wait for consistent thaw, close drains, slowly open the main supply to avoid water hammer, re-pressurize the backflow preventer, power the controller, and test each zone for leaks or clogged heads. Adjust spray patterns, set a seasonal schedule, and confirm sensors and drip lines work.
What you’ll learn from this blog
The exact spring startup sequence that prevents damage
How to open valves slowly to avoid water hammer
Backflow preventer steps that actually make sense
A zone-by-zone testing routine (with quick fixes)
Smart controller programming for spring weather
Common mistakes and how to handle them fast
When it’s time to call a pro
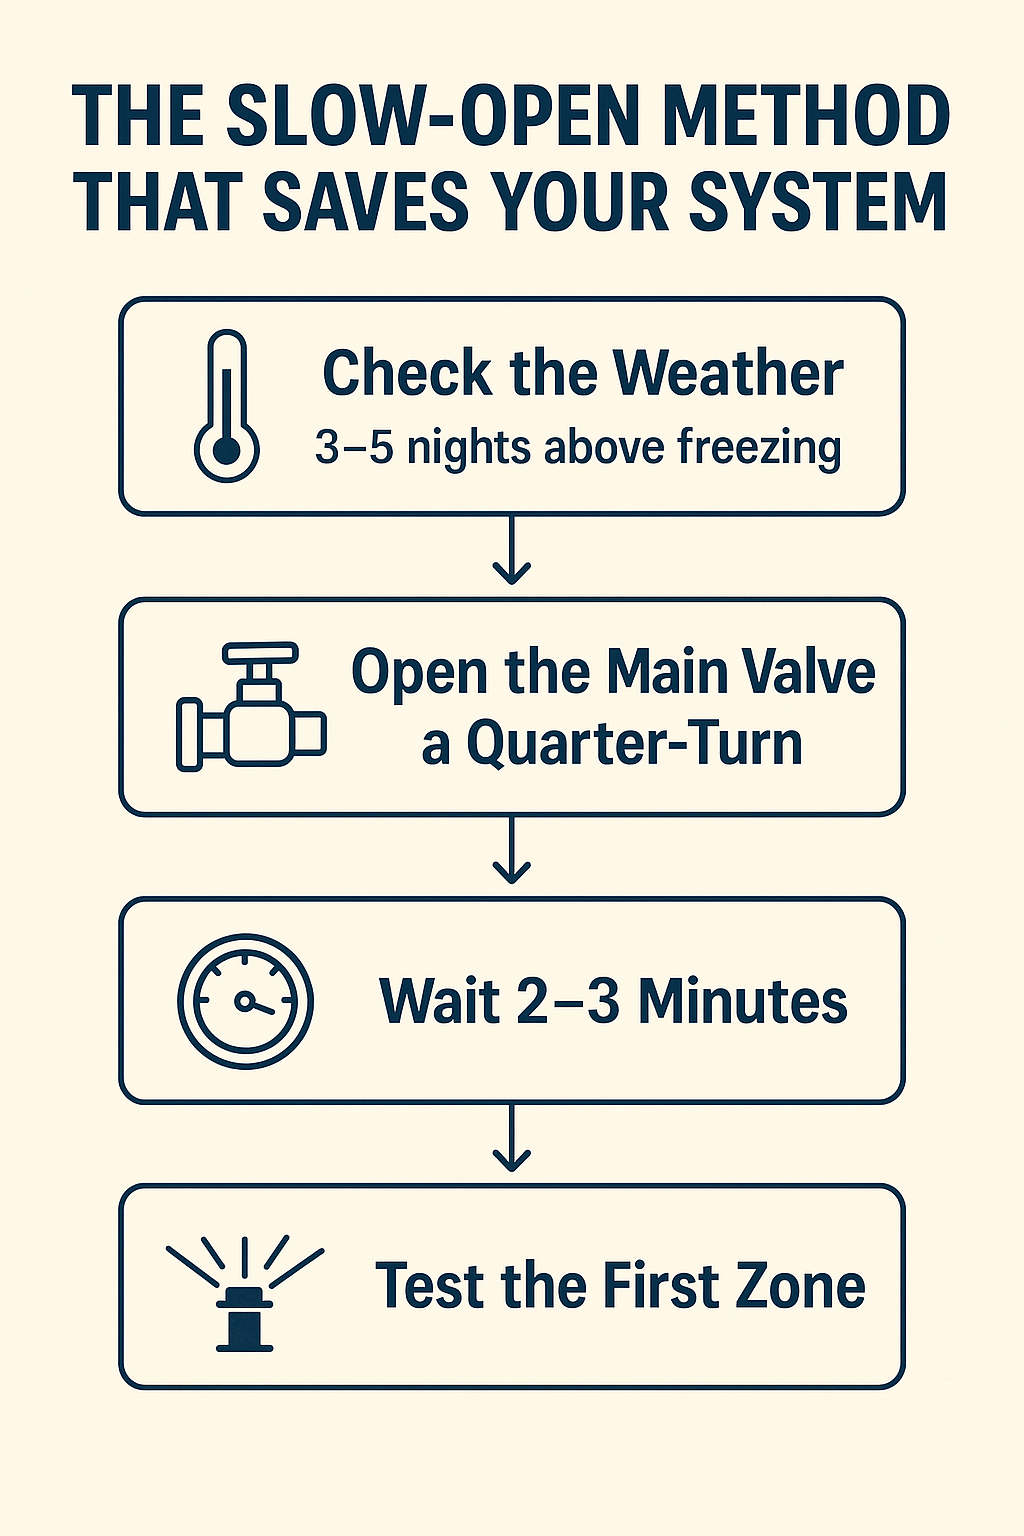
Start here: the slow-open method that saves your system
Here’s the no-drama way to pressurize an irrigation system after winter. Think of it like waking up a sleeping giant—quietly and carefully.
Summary: Open water slowly, build pressure gradually, then test zone by zone.
Step-by-step process:
Confirm it’s warm enough: 3–5 nights above freezing is a safe bet.
Close all manual drains and any open test cocks on the backflow.
Open the main water valve a quarter-turn. Wait 2–3 minutes.
Listen. If pipes knock or hiss wildly, pause and let pressure settle.
Open another quarter-turn. Repeat until fully open and stable.
Turn on the controller and run the smallest zone first (often drip).
Walk the yard and watch for leaks, spitting heads, or soggy spots.
Quick story: Last April, I impatiently cranked a ball valve wide open. The pipes thumped like a drumline—classic water hammer. No breaks, thankfully, but it’s a risky move. Slow and steady truly wins here.
Backflow preventer basics without the plumbing headache
Your backflow preventer protects your drinking water from lawn contaminants, so bring it online correctly.
Summary: Return valves and test cocks to normal positions in sequence.
Details and tips:
Orientation check: Ensure the device is upright and insulated (if exposed).
Valve order matters: Close test cocks first (finger-tight), then crack open the downstream shutoff a bit, followed by the upstream shutoff. Give the system a minute to equalize.
Drips at the vent? A gentle tap or very slight pressure adjustment usually calms it. Persistent leaking may mean a worn check valve—call a licensed pro.
Local rules: In some areas, only certified testers can open or test backflows. If you’re unsure, a quick call can save you a fine.
Walk-the-yard test: tune every zone like a DJ setting the vibe
This is where you dial things in. One zone at a time, with eyes on the details.
Summary: Run and adjust each zone, flushing lines and fixing obvious issues.
What to do as each zone runs:
Pop-up heads: Look for tilted or buried heads. Straighten, raise, or clear sod around the cap.
Arcs and distances: Use the nozzle screw to tweak throw, and adjust the arc so you’re watering grass, not sidewalks.
Geysers mean a broken head: Turn off the zone, replace the head like-for-like, and flush the riser before installing the new nozzle.
Drip zones: Open end caps or flush points for 20–30 seconds to clear sediment. Check inline filters and clean if flow is weak.
Pressure check: Misty spray? You may have too much pressure (add a regulator) or a clogged nozzle. Sputtering? Air in lines—let it run a minute.
Valves that won’t open or close: Could be a stuck solenoid or debris in the valve. A gentle manual activation can help identify the culprit.
Smarter scheduling: program the controller for spring, not summer
Spring soil doesn’t need July’s watering schedule. Overwatering now invites disease and runoff.
Summary: Start light, then scale with heat and daylight.
Programming tips:
Start times: Water early morning (4–8 a.m.). Avoid evenings to reduce fungus.
Duration: Begin with shorter run times; aim for 1 inch of water per week across two to three days, depending on soil.
Cycle-and-soak: For clay or slopes, split runtimes into two or three shorter cycles to avoid puddles.
Seasonal adjust: Use the controller’s percentage setting—try 60–70% in early spring, bump up as temps rise.
Rain sensor and soil moisture: Make sure they’re enabled and working. Quick test: trigger the sensor and confirm the controller pauses irrigation.
Long-tail thought: Wondering when to start sprinklers after winter? If you can push a screwdriver 3–4 inches into the soil and nights are above freezing, you’re good.
Fast fixes for common startup mistakes
A few hiccups are normal. Here’s how to handle the usual suspects quickly.
Water hammer thumps: You opened too fast. Close the valve, wait, then re-open in quarter-turns.
One zone won’t run: Check the breaker, controller wiring, and solenoid connection. Manually open the valve at the box to isolate electrical vs. mechanical issues.
Low pressure everywhere: Main valve not fully open, clogged filter, or partially closed backflow valve. Confirm each is fully open and clean.
Brown spots even after startup: Head-to-head coverage may be off. Adjust arcs, replace worn nozzles, and check for hidden leaks.
Controller confusion: If you inherited a system, label zones as you test. Write “front lawn left,” “back drip beds,” etc. Your future self will thank you.
Conclusion: you’ve got this—your lawn will show it
With a slow open, a quick backflow check, and a smart walk-the-yard test, your irrigation is ready for the season. If anything feels off—or you’d rather have a pro get it perfect—Turfrain is happy to help. Contact Us for a friendly spring startup, troubleshooting, or a tune-up that makes your lawn pop.