The Exact Tools and Materials to Winterize a Sprinkler System (Without Wrecking Your Heads)
By Turfrain
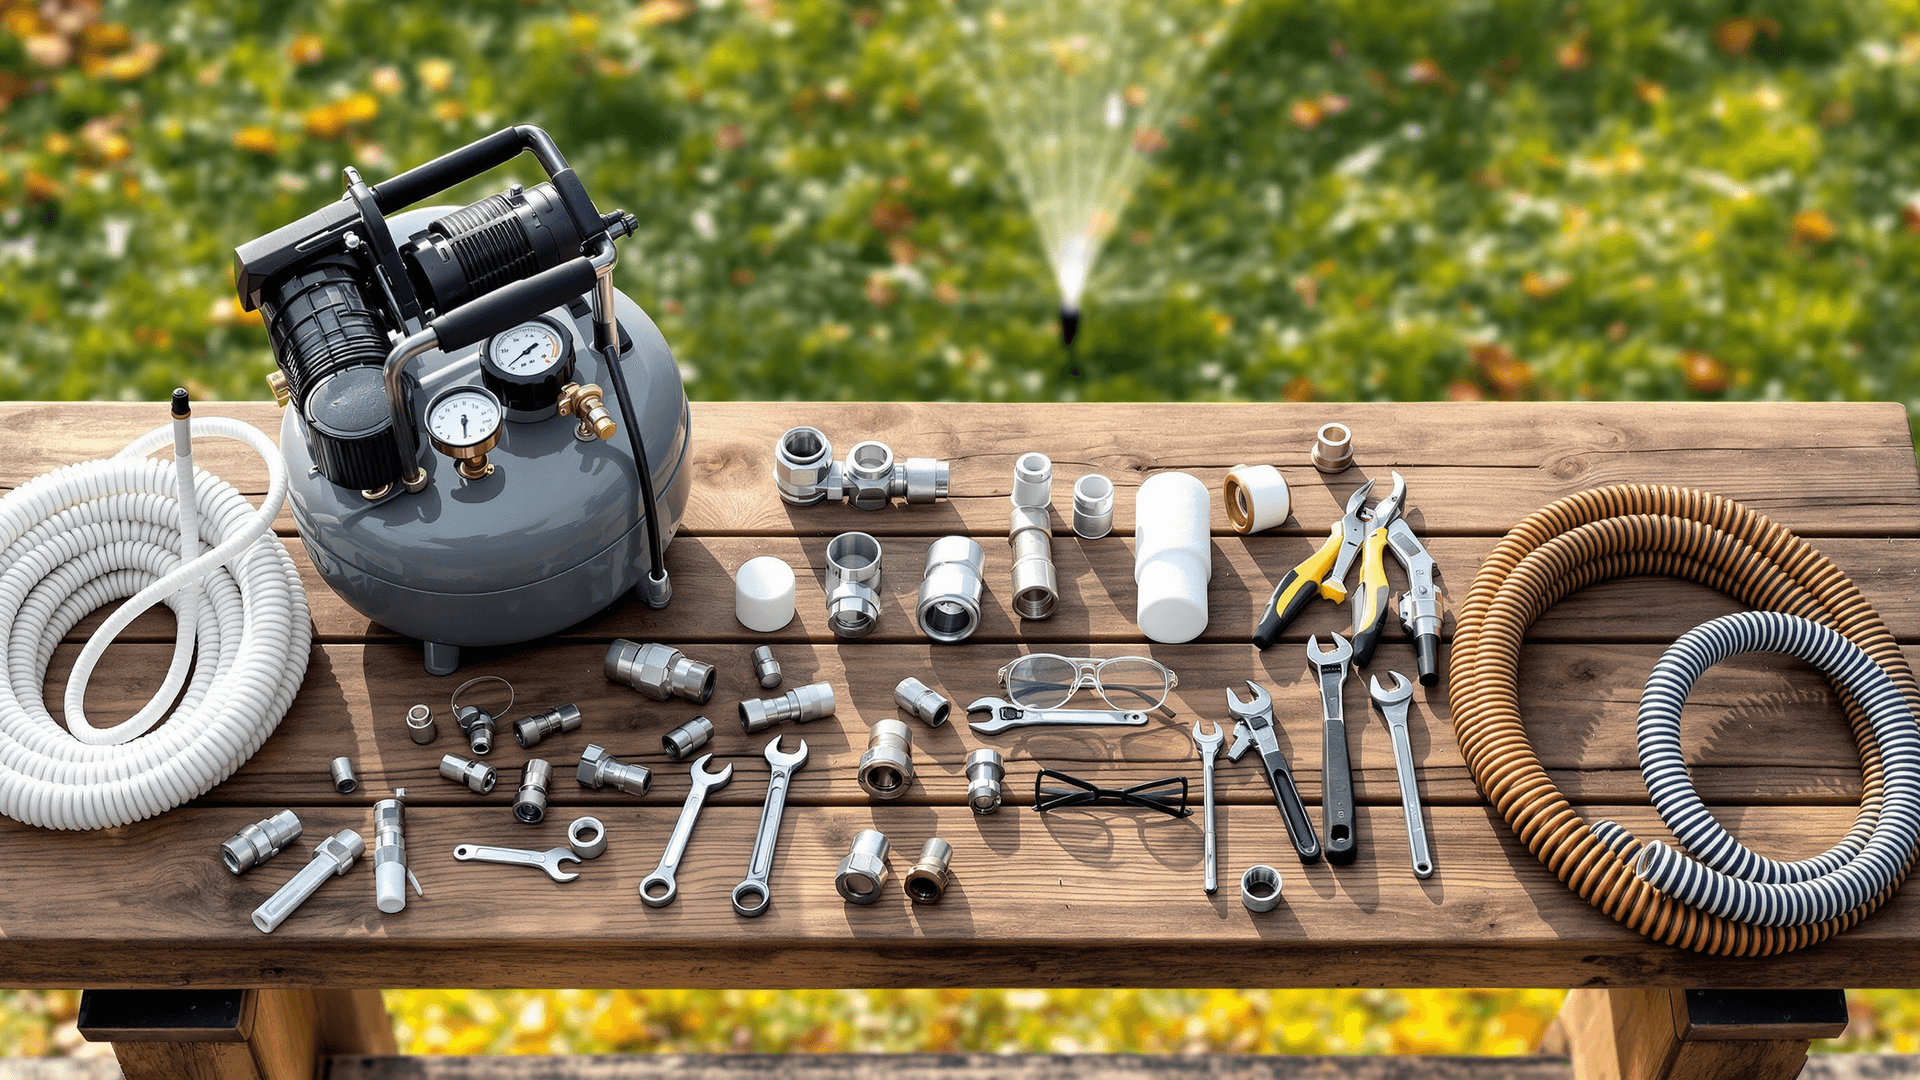
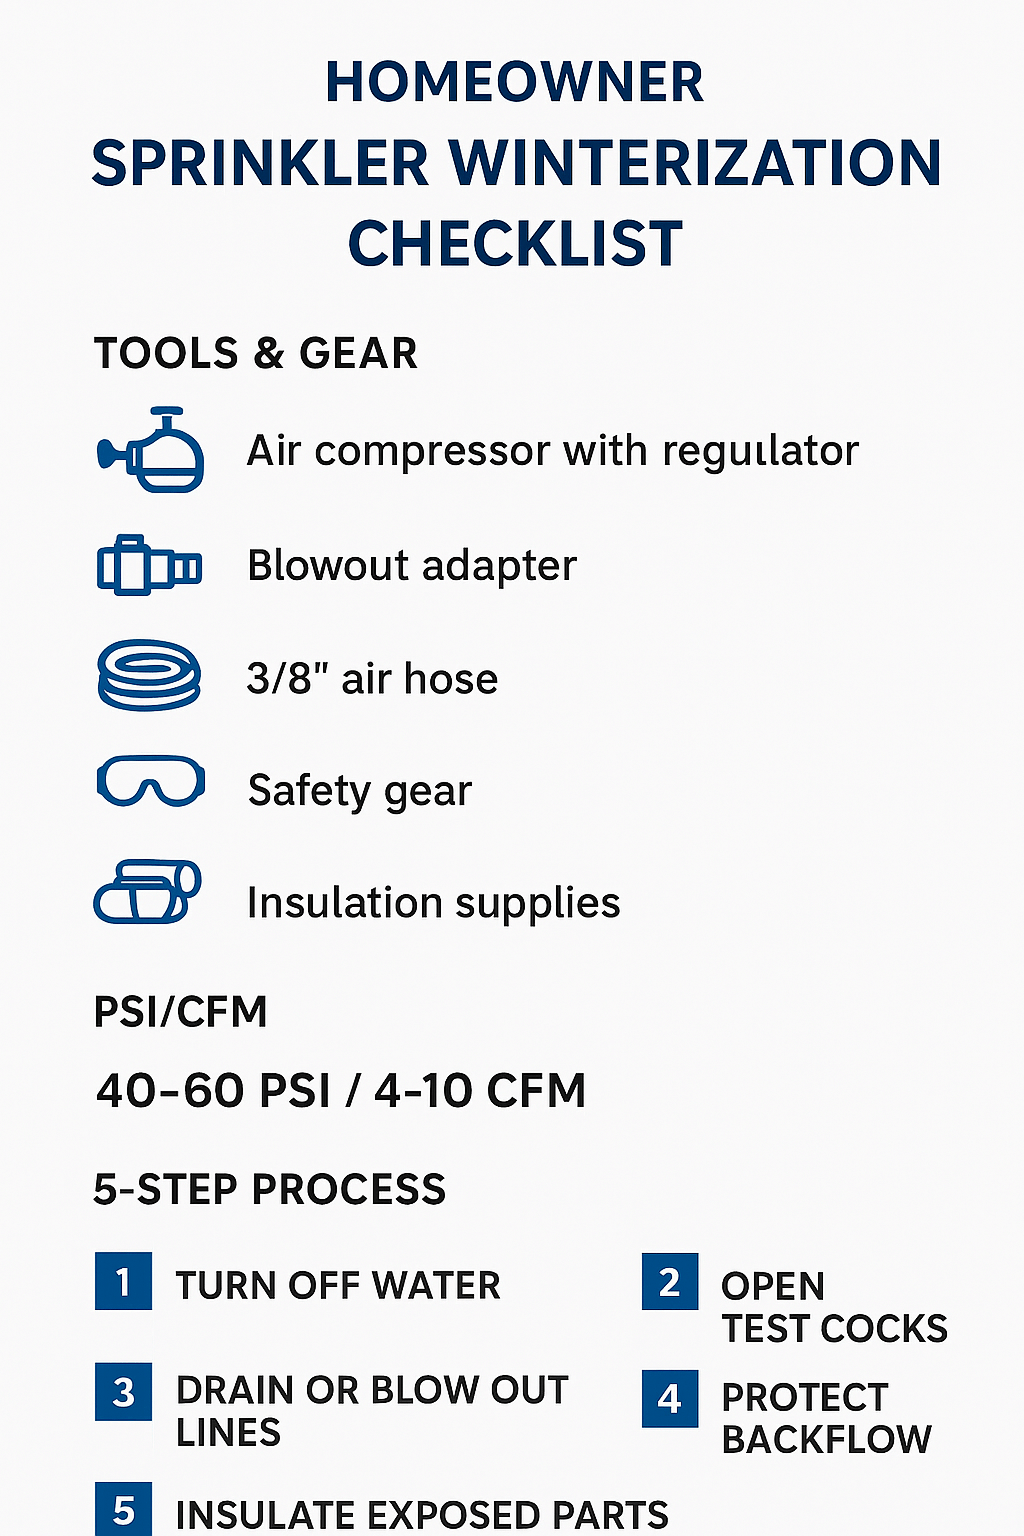
You’ll need an air compressor with a regulator, the right blowout adapter, a quality air hose, basic hand tools, and insulation supplies. Add safety gear—eye and ear protection—and a few extras like Teflon tape and rags. Optional: foam covers for the backflow and hose bibs. That’s the short list to winterize a sprinkler system.
What you’ll learn from this blog
The essential tools and materials (and the ones you can skip)
What PSI and CFM you actually need to blow out sprinkler lines
Which fittings and adapters connect your compressor to the system
A safe, step-by-step winterization process for homeowners
Smart extras to prevent freeze damage and springtime leaks
Let’s start with the non-negotiables: the gear that really matters
If you only buy a few things, make them these. These pieces prevent cracked pipes and broken heads, which is the whole point of winterizing.
Air compressor with regulator and gauge: Aim for 4–10 CFM at 40–60 PSI for most homes; never exceed 80 PSI. Small pancake compressors can work on tiny systems but may struggle—think “slow and steady.”
Blowout adapter: Usually a 1/4 in NPT male plug or a 3/4 in garden-hose-thread adapter to match your blowout port or hose bib. A ball-valve blowout adapter adds control.
Air hose, 3/8 in preferred: A wider hose maintains airflow (CFM) better than a thin one.
Safety gear: Safety glasses, hearing protection, gloves. Compressed air is loud and debris flies—it’s not the time to wing it.
Basic tools: Adjustable wrench, flathead screwdriver, needle-nose pliers, Teflon tape, a few rags.
True story: The first time I helped a neighbor, his tiny compressor ran nonstop and barely cleared a zone. We slowed down, did one zone at a time, and let the compressor rest. It wasn’t glamorous, but it saved his rotor heads. Patience matters more than horsepower.
Adapters and fittings, demystified (so you’re not making five trips to the store)
Sprinkler systems aren’t standardized from house to house. Here’s how to match parts without guessing.
Find your blowout port: It’s usually a capped port downstream of the backflow preventer or a hose bib near the main shutoff. Sometimes it’s in the valve box.
Common connections you might need:
1/4 in or 3/8 in NPT male quick-connect fitting to pair with your compressor hose
3/4 in garden-hose-thread (GHT) to quick-connect adapter (for hose bib blowouts)
Ball-valve blowout adapter for on/off control and gentler pressure ramp-up
Teflon tape for any threaded joints to prevent air leaks
Backflow note: Never push air backward through your backflow preventer. Connect downstream of it whenever possible. If you must use a hose bib, isolate the backflow first.
Quick answers homeowners ask at the last minute
What PSI should I use to blow out sprinklers? 40–60 PSI for most zones; spray zones on the lower end (40–50), rotor zones 50–60. Never exceed 80 PSI.
What CFM do I need? More CFM clears zones faster. 4–10 CFM works for many homes; pros often use 10–20 CFM.
Do I need antifreeze? Not in city-water lawn systems. Do not use automotive antifreeze. RV antifreeze is only for pump-fed or above-ground sections that can’t be drained and are isolated from potable water.
Can I winterize without an air compressor? You can drain manual/automatic drain valves, but it’s less reliable. Blowing out lines is the safer bet in freeze-prone areas.
Safety first, because cracked backflows are pricey
It’s easy to overdo it. A backflow preventer or PVC elbow costs a lot more than a few extra minutes of caution.
Regulate pressure: Use the compressor’s regulator and an inline gauge if you have one.
One zone at a time: Opening multiple zones reduces pressure predictability.
Short bursts: 1–2 minutes per zone, then repeat. You’re chasing mist, not bone-dry lines.
Watch the heads: If a head whistles, chatters, or pops, stop and dial back the pressure.
Secure pets and kids: This process is loud and can fling debris.
A homeowner-friendly, step-by-step winterization process
1. Shut Off and Isolate
Turn off the irrigation water supply at the main shutoff valve.
Close the backflow preventer’s isolation valves.
Open the test cocks to relieve any remaining pressure.
2. Connect the Compressor
Attach your blowout adapter downstream of the backflow (ideal).
If using a hose bib, make sure the backflow preventer is isolated first.
Set the compressor regulator to 40–60 PSI before introducing air.
3. Clear Zones One by One
Start with the zone farthest from the water source.
Run the zone and introduce air slowly.
Let it vent until steady mist turns to faint vapor or sputters (about 1–2 minutes).
Cycle each zone once more to ensure all moisture is cleared.
4. Drain and Secure
Open any low-point drains, if available.
Leave test cocks on the backflow slightly open to allow escape of trapped water.
Set the controller to Rain Mode or turn off watering schedules.
If using a pump-fed system, follow your manufacturer’s winterization procedure.
5. Insulate the Exposed Bits
Wrap exposed piping with foam sleeves.
Cover the backflow preventer with an insulation bag (not airtight—allow it to breathe).
Add faucet covers to hose bibs and any exposed outdoor fixtures.
Smart extras that make spring startup a breeze
Flag stubborn heads: Use small lawn flags to mark any heads that didn’t pop. Fix in spring.
Label valves: A simple tag in the valve box helps later troubleshooting.
Snap a photo of your adapter setup: Future-you will thank present-you.
Keep a small kit: Teflon tape, the adapter, and spare O-rings in a marked bag.
Common pitfalls (and how to dodge them)
Over-pressurizing: More PSI isn’t more effective. It’s riskier.
Forgetting to isolate the backflow: Air can damage it. Always work downstream when possible.
Not insulating exposed parts: One cold snap can crack fittings—cheap insulation saves headaches.
Calling it “done” after one quick pass: A second short pass often clears lingering moisture, especially in long runs.
Conclusion and a friendly nudge
Winterizing isn’t complicated once you’ve got the right tools, a sensible PSI, and a bit of patience. Do it now, and spring will be all green lawns and zero surprises. If you want a hand or just a sanity check, Turfrain is here for you. Contact Us and we’ll treat your system like it’s our own.