How to Winterize Your Lawn Sprinkler System (Without Breaking a Pipe)
By Turfrain
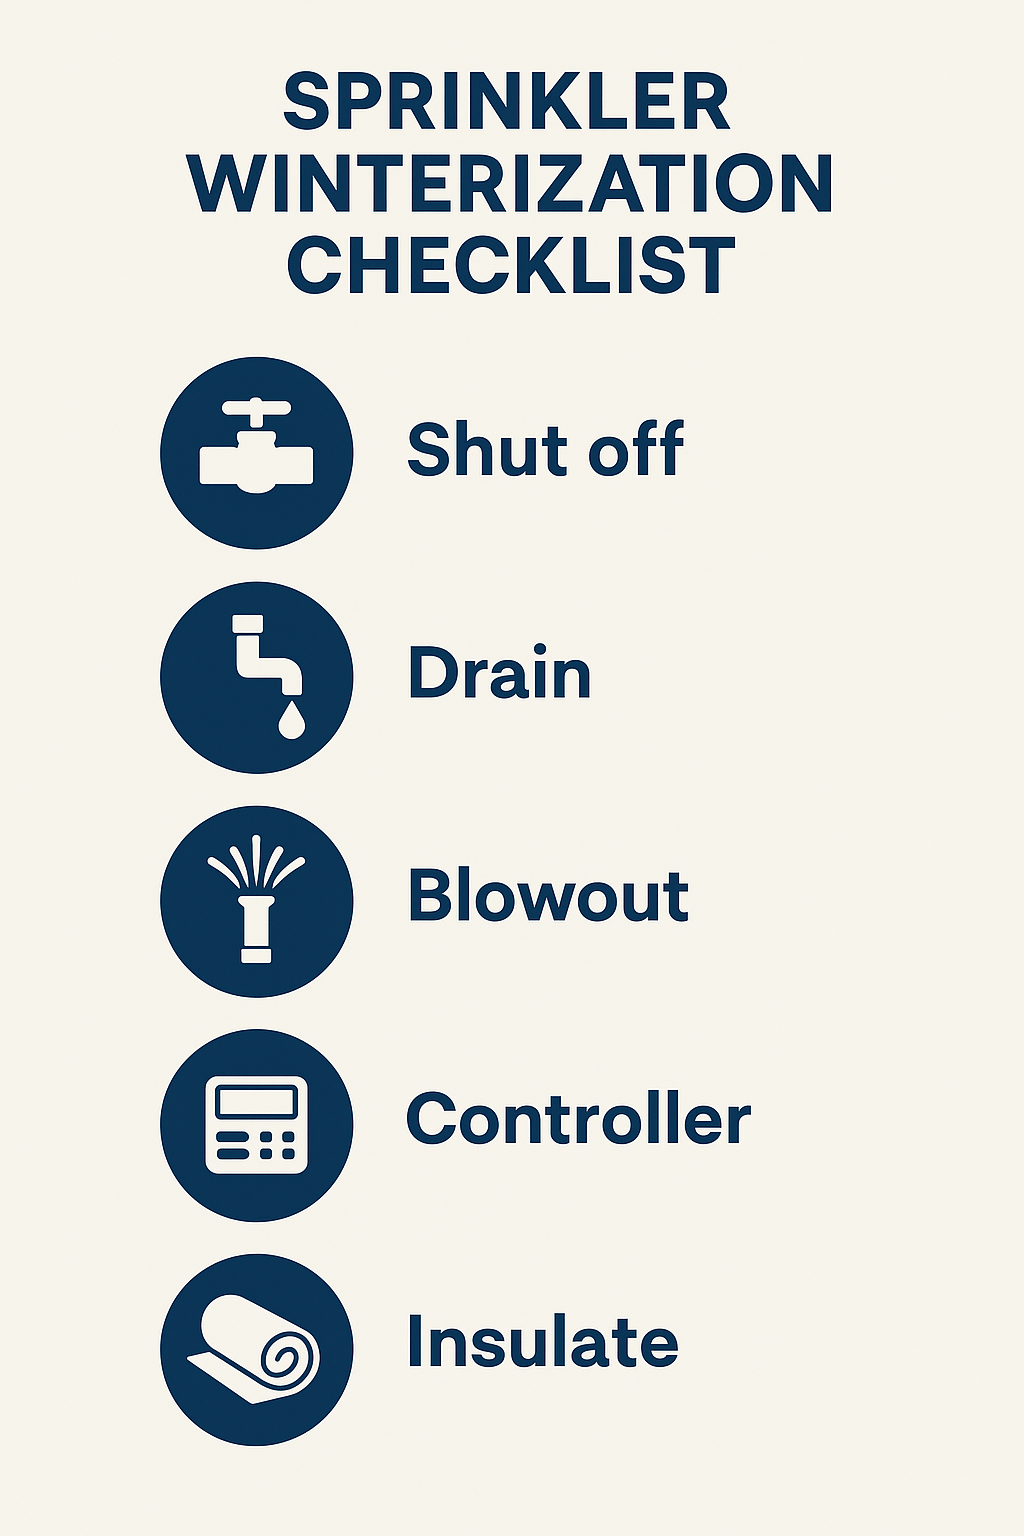
To winterize your lawn sprinkler system, shut off water, drain or blow out lines with compressed air, open test cocks, protect backflow preventer, set controller to winter mode, and insulate exposed parts. Doing this before first hard freeze prevents burst pipes, cracked valves, and costly repairs. Most homeowners can complete it in under an hour.
What you’ll learn from this blog
The exact steps to winterize a sprinkler system safely
How to choose the right compressor settings (PSI/CFM)
Backflow preventer basics and why they matter
Controller and sensor settings you shouldn’t skip
Common mistakes that cause springtime leaks
Start Here: The Quick, No-Panic Checklist
You don’t need to be a plumber to do this right. Think of it like putting your system to bed for the season—blanket, lights out, goodnight.
Turn off the main sprinkler shutoff valve (usually near the meter or inside the basement).
Open drain points: any manual drain valves and the test cocks on the backflow preventer.
Blow out lines if your system doesn’t self-drain. Use compressed air, one zone at a time (details below).
Set the controller to OFF, Standby, or Rain Mode. Note your zone names for spring.
Insulate exposed parts: wrap the backflow preventer and any above-ground piping.
Check for lingering leaks: listen for hissing or trickling after draining.
Leave valves slightly open to avoid trapped water re-collecting.
A quick story: one December, a neighbor did everything but the last bullet. Water crept back into a low spot overnight and split a fitting like an ice cube in a bottle. Ten minutes now saves hundreds later.
Air Compressor Basics Without the Jargon
“Do I really need a compressor to winterize my lawn sprinkler system?” If your system isn’t designed to self-drain—or you live where freezes are serious—the safe answer is yes.
PSI and CFM, the only two numbers you need:
Pressure: 40–60 PSI is plenty for most residential zones (PVC or poly). Lower is safer; high pressure can damage heads.
Flow (CFM): 5–10 CFM gets you decent airflow. Bigger systems benefit from 10–20 CFM so you’re not waiting forever.
How to blow out zones, step-by-step:
Connect the compressor to a blowout port (often on the manifold or near the backflow preventer) with a proper adapter.
Start with the zone farthest from the water source.
Set compressor regulator to about 50 PSI to start.
Run one zone at a time until the heads mist, then spit air, then go mostly dry—usually 60–90 seconds. Don’t overdo it; prolonged dry running overheats heads.
Cycle each zone twice for good measure.
Turn off the compressor, release pressure, and disconnect.
Open all test cocks and leave them at a 45-degree angle.
Pro tip: Keep valves and heads safe
Never exceed manufacturer limits (most heads max around 60 PSI).
If you only have a small pancake compressor, be patient. Let it refill and work zone-by-zone; you’ll still get it done.
Backflow Preventers Need Extra Love
That brass U-shaped assembly isn’t just fancy plumbing—it keeps dirty water from flowing back into your drinking water. Freezing here equals expensive repairs and, honestly, a headache you don’t want.
What to do:
Shut off the upstream isolation valve.
Open test cocks with a flathead screwdriver to relieve pressure.
Crack open downstream valves slightly so trapped water finds a way out.
Wrap the entire backflow with an insulated cover or foam plus a weatherproof shell. If it’s outdoors and above grade, this is non-negotiable.
Mini-myth buster: “I wrapped it, so I’m good.” Not if water’s still inside under pressure. Insulation helps, but draining is what saves parts.
Controller and Sensors: Set It and Actually Forget It
This is where people accidentally keep watering in January. Don’t be that neighbor.
Do this in two minutes:
Set controller to OFF, Standby, or Rain Mode. No power? Use the battery backup so your schedules stay saved.
Disable rain sensors or freeze sensors from triggering unnecessary alerts.
Take a quick photo of your zone setup for spring reprogramming.
If you have a smart controller, turn on “Seasonal Shutdown” in the app and schedule a spring re-activation reminder.
When Should I Winterize My Lawn Sprinkler System?
Short answer: before your area’s first hard freeze (a night at 28°F/-2°C or lower for several hours). The telltale sign is when overnight temps dip below freezing a couple nights in a row. If you’re asking “Is it too late to blow out sprinklers?”—do it now. Late is still better than never.
Common Mistakes to Skip (Save Your Spring Budget)
Using 90–120 PSI from a shop compressor without turning it down. That’s how heads pop.
Blowing out all zones at once. You’ll just starve airflow and miss water pockets.
Forgetting low-point drains. Water always finds the lowest spot.
Leaving the backflow under pressure. It’s the first thing to crack.
Closing everything airtight after draining. Leave test cocks slightly open.
Skipping insulation on exposed piping. A 10covercansavea300 service call.
A simple one-minute sanity check
Walk the yard and listen. No hissing near valve boxes? Good.
Peek at heads. Any weeping after blowout? Re-run that zone for 30 seconds.
Confirm controller OFF and shutoff valve closed.
Toss a tag on the shutoff: “SPRINKLERS OFF – OPEN THIS IN SPRING.” You’ll thank yourself later.
Conclusion and a Friendly Nudge
Winterizing isn’t glamorous, but it’s the kind of quiet victory that shows up as zero surprises in April. Shut it down, blow it out gently, baby the backflow, and you’re golden. If you’d like a quick check or a full-service blowout, Turfrain can handle it with the right gear and a smile. Reach out anytime—Contact Us and we’ll get you winter-ready fast.